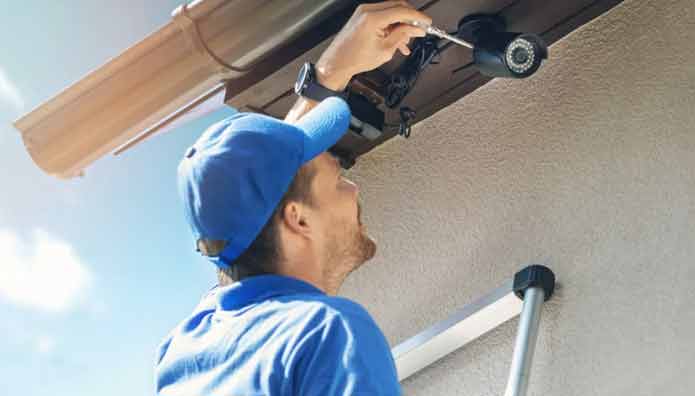
If you’re wondering how to install security cameras, there are a few steps you can take to make sure you have everything ready. First, find a location where you can mount the camera without creating a blind spot. Next, check out the location to make sure there are no obstructions. Once the location has been confirmed, you can proceed with the installation. Most security cameras come with mounting screws, but some may require a stud finder. When mounting the cameras, make sure they’re installed at different heights to make sure they’re not obscuring any objects.
Set the Place
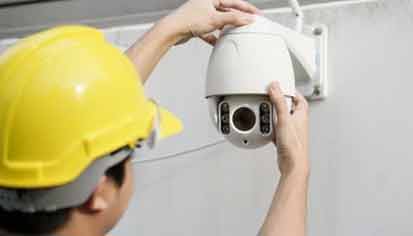
If you’re using a wireless camera, then you can install it right away. The Nest Cam IQ, for instance, has a special mounting plate. This means you can just screw it into the wall. To attach the camera to the wall, you’ll need an electric drill. You’ll also need anchors to secure the camera to the wall. To make things easier, you can buy steel fish tape to wrap the cables.
Buy Network Cables
If you’re doing a DIY installation, you can easily buy network cables. You can buy these at computer hardware stores or online. You’ll need two or three feet of UTP cat5e cable. You’ll need a crimping tool to secure the connectors. If you’re not confident about your electrical skills, ask someone to help you. If the camera has already been installed, you can simply use the same screws to mount it.
Drilled Holes In The Wall
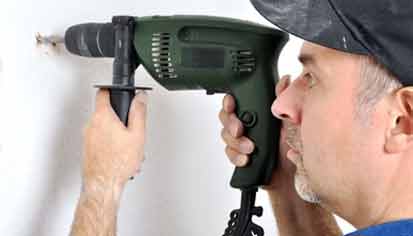
After you’ve drilled a hole in the wall, you’ll need to run the cables through the camera mount. Then, you need to feed them behind the wall to the DVR box. You may also need to crimp the connectors of the ethernet cable. Don’t forget to tape the cameras in strategic locations, and keep them out of reach of people! If you’re installing a security camera in a window, make sure that the light is out of the way of the lens.
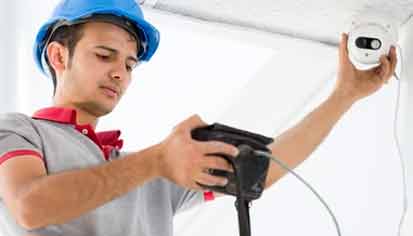
Make Sure You Have the Right Wiring
Before installing security cameras, make sure you have the right wiring for the cameras. The cables need to be run through the camera mount point and then through the wall to the DVR box. Don’t forget to use fish tape when running the cables through tight places, as it will help you feed the cables in tight places. After this, you’ll have a camera that will monitor your home while you’re away. Once the wires are connected, you’ll have to connect them to the DVR box.
Install It Manually
If you have a wired security camera, you’ll need to install it manually. This can be difficult because the wires need to be threaded through the camera’s mounting point. If you’re installing a wireless one, you’ll need to use a cable adapter to connect it to the power supply. In either case, the mounting process is largely the same. The only difference is the type of wiring.
Conclusion
Once you’ve selected the cameras, you need to mount the cable and secure it. Once you’ve done that, you can connect the cameras to the network using RJ45 connectors. Then, you need to connect the cameras to the recorder. When mounting the cameras, you should make sure that they’re mounted at least nine feet from the ground to avoid attracting unwanted visitors. Ensure that the cable is secured well.